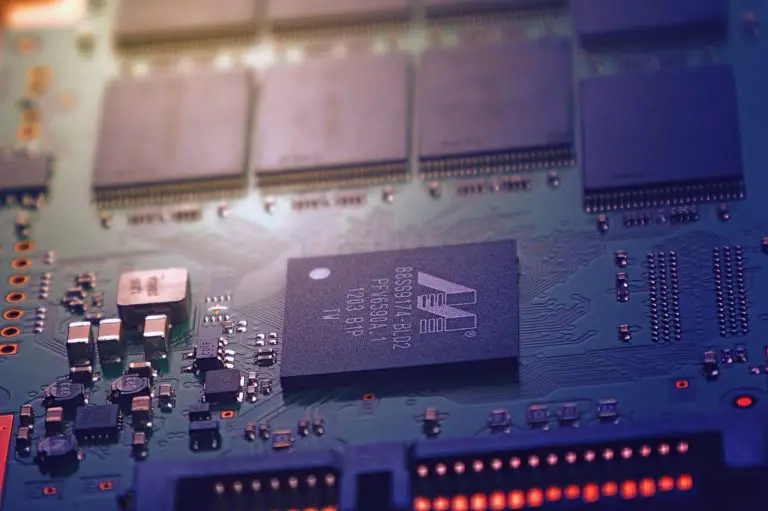
A Trusted Platform Module (TPM) is a physical piece of hardware that is dedicated to storing cryptographic keys that Windows uses. The most common use for this is to securely store BitLocker encryption keys. TPM chips have been shipping on PCs for the last 5+ years but Windows never required them for it to function properly.
That all changed with Windows 11 where Microsoft now mandates a TPM chip with firmware 2.0 or newer to be installed. Many virtualization vendors such as VMware and Microsoft support adding a virtual TPM chip to a virtual machine. Today we’ll be walking through how to add it to VMware Workstation/Fusion VMs.
Pre-Reqs
- VMware Workstation 14 or newer
- Supported Windows 10 or Windows 11 version
Add TPM to VMware Workstation
For this demonstration, I’ll be using VMware Workstation 16.1.2 and an already built VM. This process works the same when creating a brand new VM as well.
- Shut down the VM (if powered on)
- Click on Edit Virtual Machine settings

- Click on the Options tab, Access Control and then Encrypt

- Set a password for the virtual machine. Click Encrypt

The encryption process takes significantly longer for VMs that are already built as it has to encrypt the entire hard disk. If you do this before you build a VM, then it encrypts the data as it goes and doesn’t add any extra time.

- Once complete, navigate back to the Hardware tab and click Add at the bottom.
- Select Trusted Platform Module and click Finish.

- Click OK to exit out of the Virtual Machine Settings page and power on the VM.
Your VM will now have a TPM chip! Once booted, you can launch tpm.msc to validate that it has successfully installed.

Conclusion
In this blog you learned how to properly add a TPM 2.0 chip to a virtual machine running in VMware Workstation. Adding a TPM 2.0 chip not only encrypts and secures the VM, it allows you to run Windows 11 on it. Happy upgrading!
